Resources > Platform Guides & Support
User Guide
By Vested Impact | Published Oct 1, 2023
Table Of Contents
- Creating A New Article
- Setting Frontmatter
- Editing Content
- Publishing An Article
- Heading Text Styles
- Body Text Styles
- List Styles
- Tables
- External Links
- Simple Images
- Custom Elements
Creating A New Article
To create a new article you should:
- Navigate to the
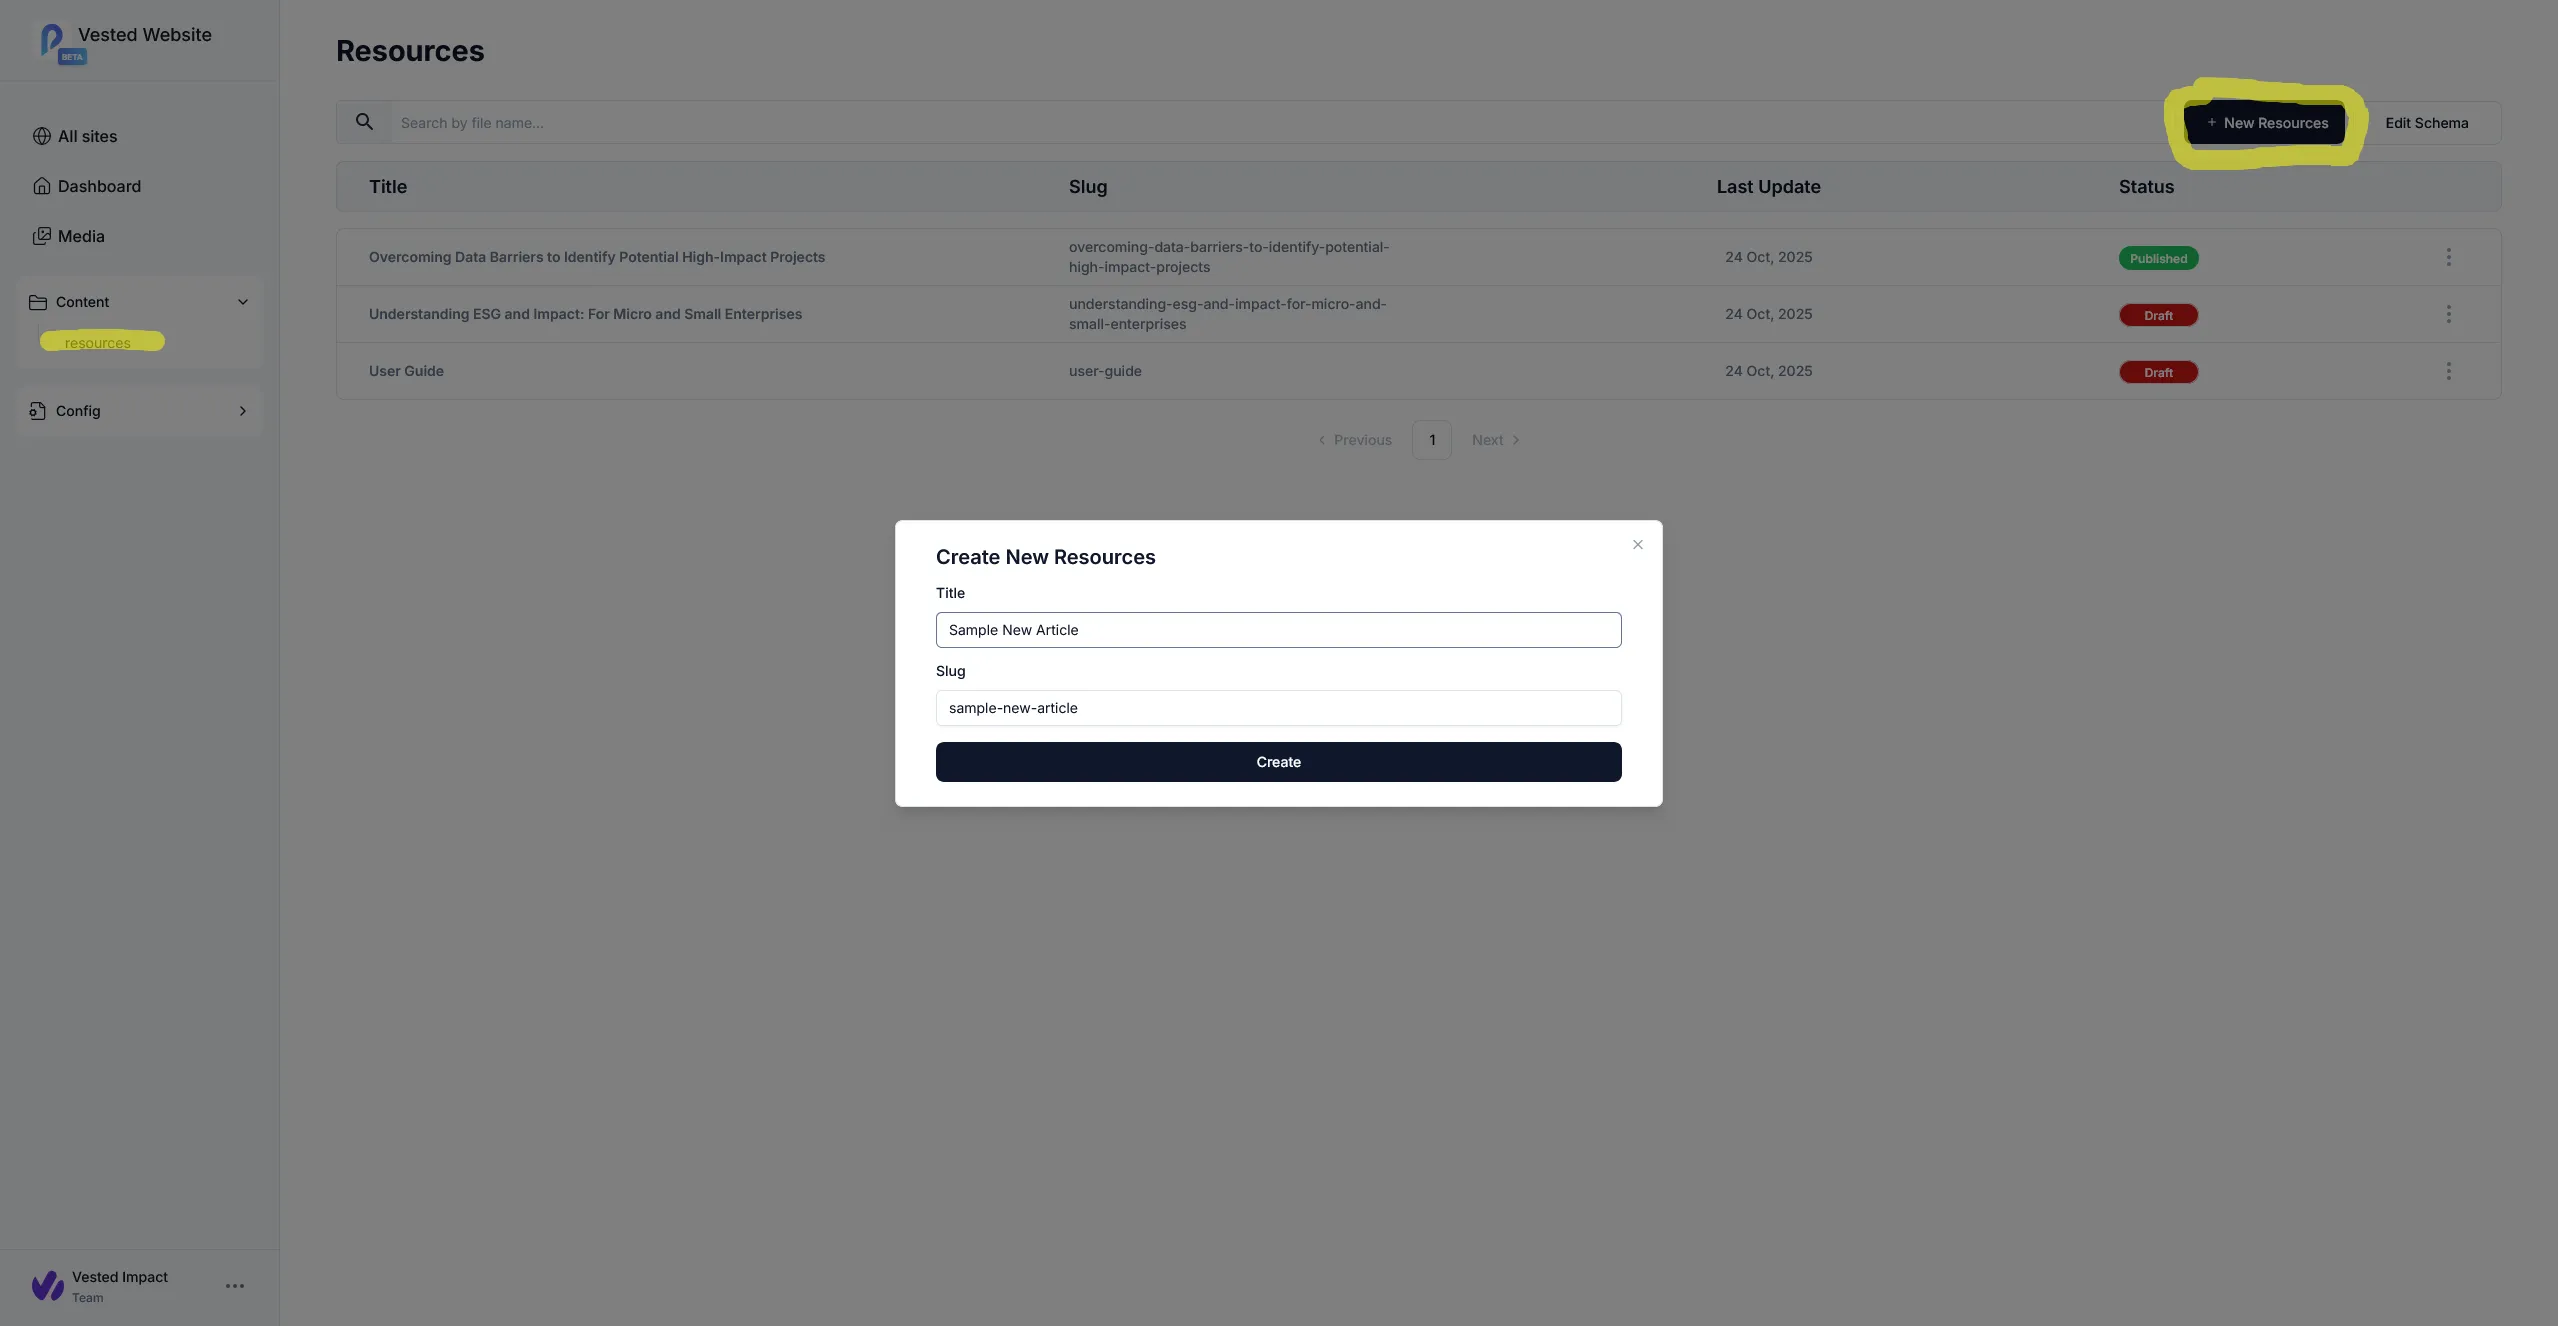
resourcessection under theContentsidemenu in Sitepins. - Click
New Resources. - Enter the new articles name in the modal. The slug will be automatically generated (the slug is the part of the URL used to access the article).
Setting Frontmatter
Frontmatter is the name given to the data that is used to detail the common properties of an article. It can be edited in Sitepins from the left half of an individual articles page.
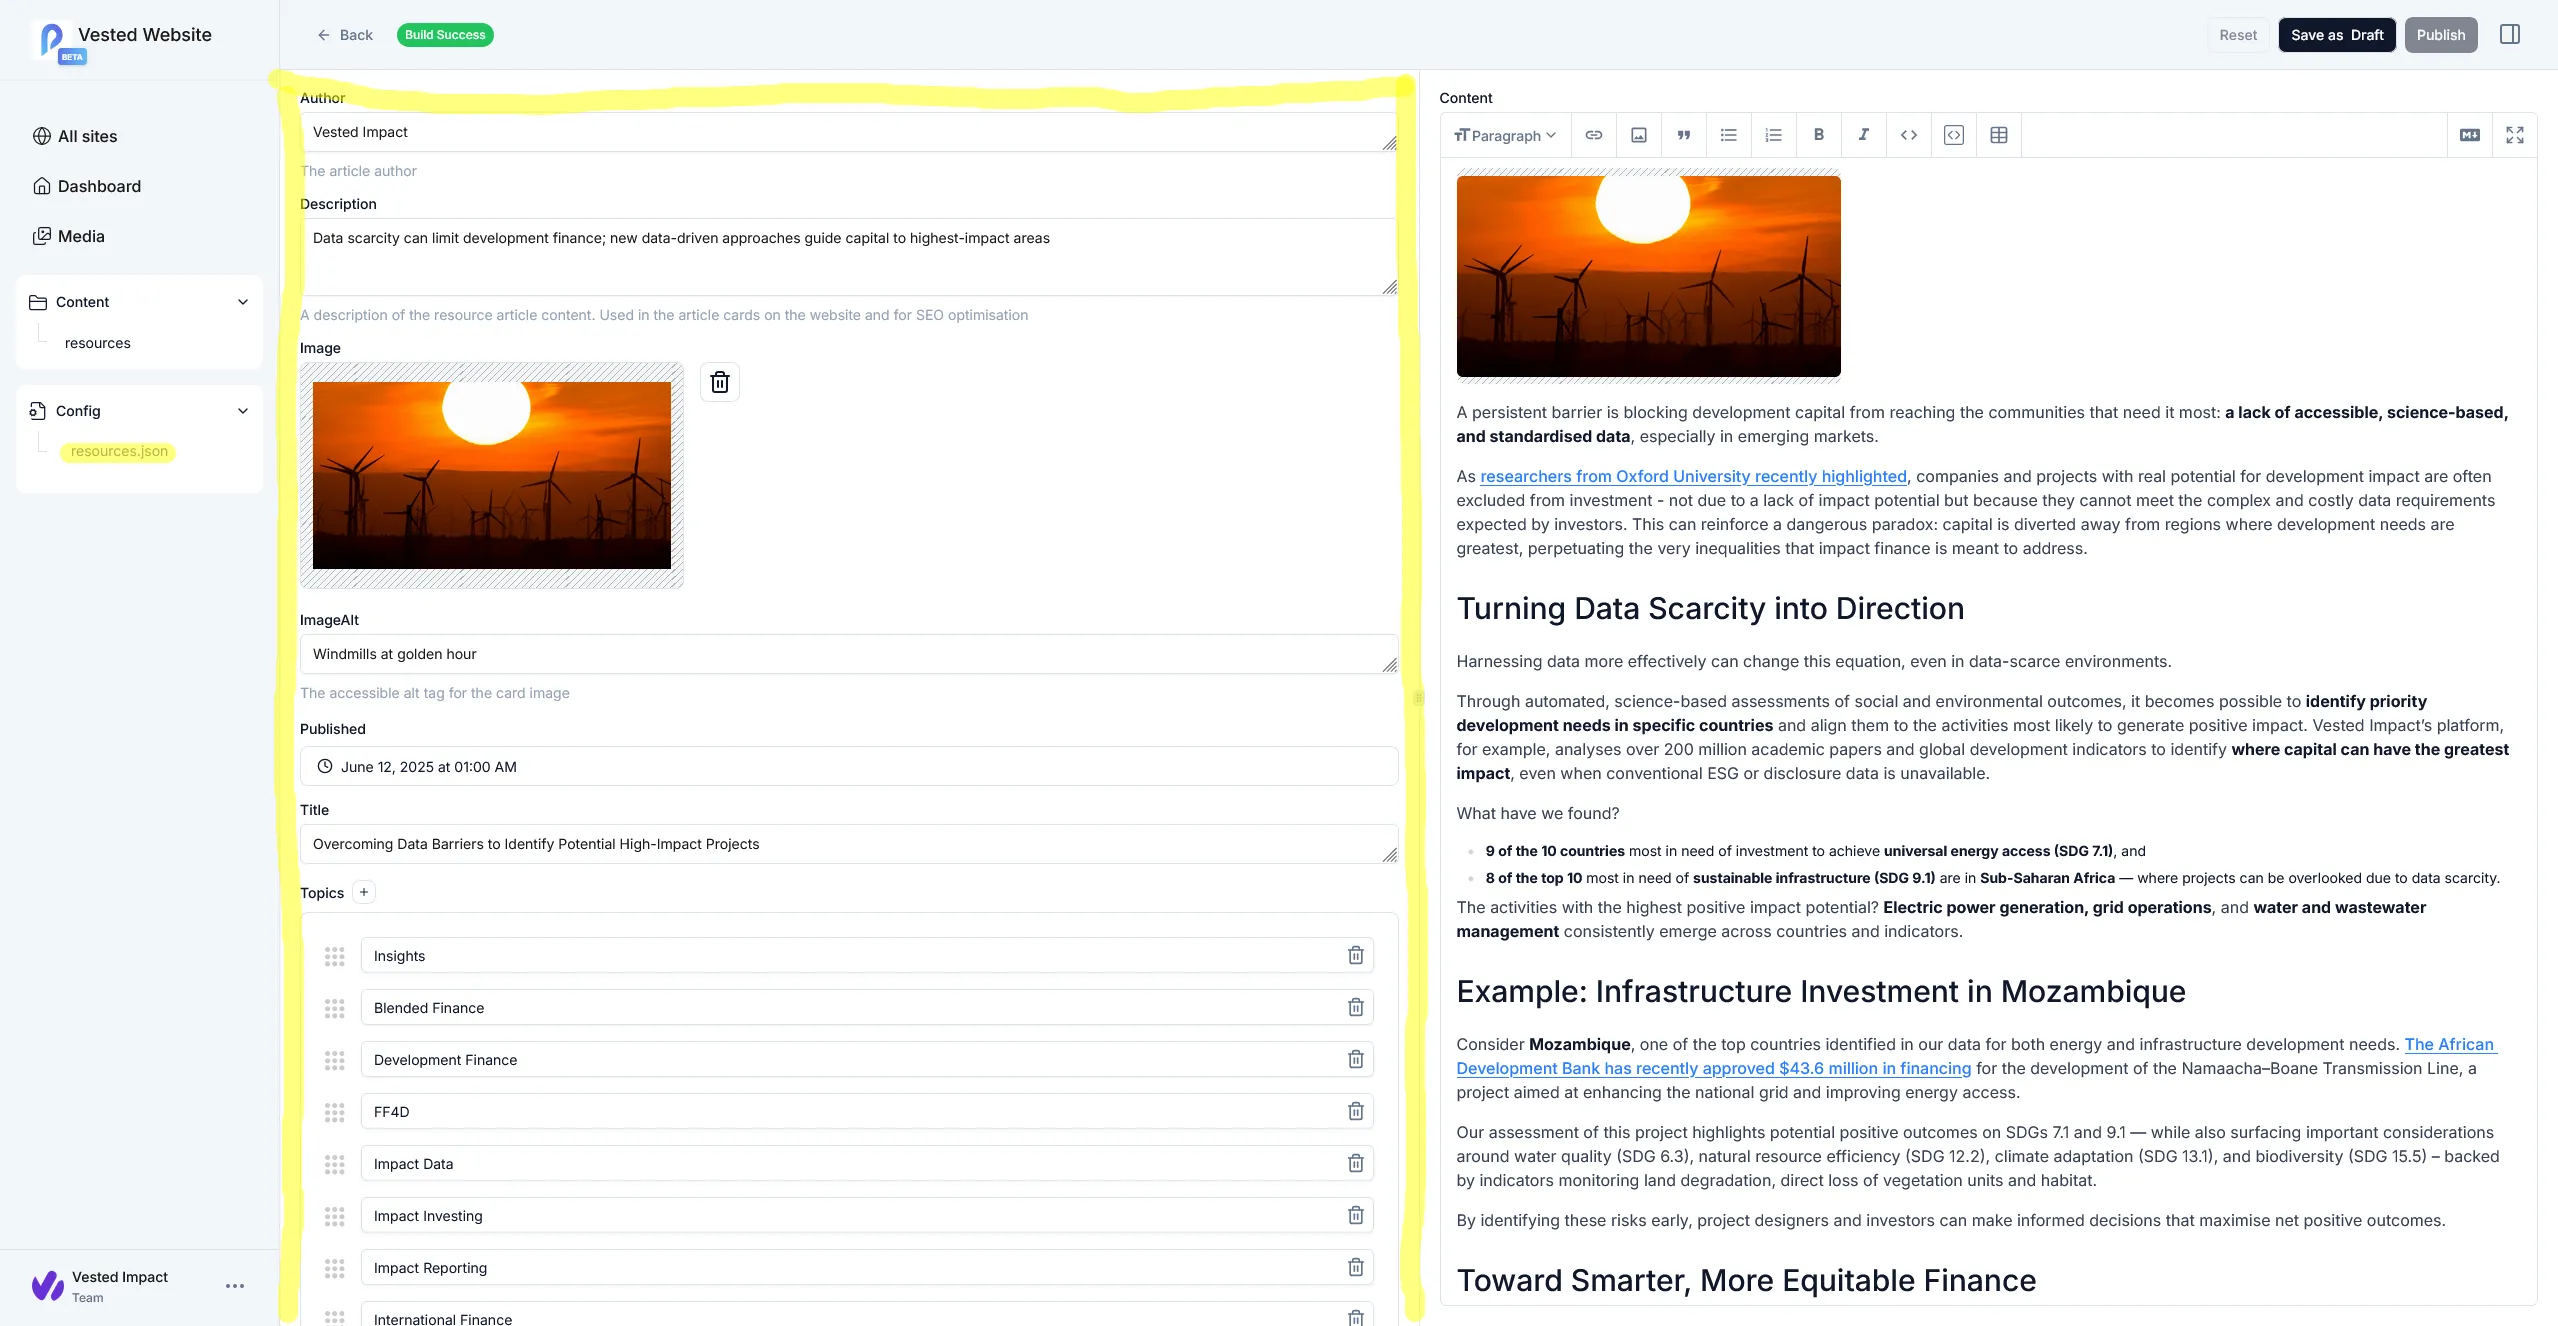
The frontmatter for an article in the Vested Impact website has the following properties:
| Property | Description |
|---|---|
| Author | The author of the article, will default to ‘Vested Impact’ |
| Description | The description of the article content, this will be used in the card on the resources page so should be reasonably short |
| Image | The image used in the card on the resources page |
| ImageAlt | Accessible alt text for the card image |
| Published | The publication date of the article. We do not display time to users so setting date is sufficient unless there are multiple articles with the same publication date |
| Title | The title of the article |
| Topics | A list of topics the article references, you should check the resources.json file in the config sidemenu to check the available options. The first topic will be designated the primary topic and used in the resources page card |
| Type | The type of article, you should check the resources.json file in the config sidemenu to check the available options |
| Use Cases | A list of use cases the article applies to, you should check the resources.json file in the config sidemenu to check the available options |
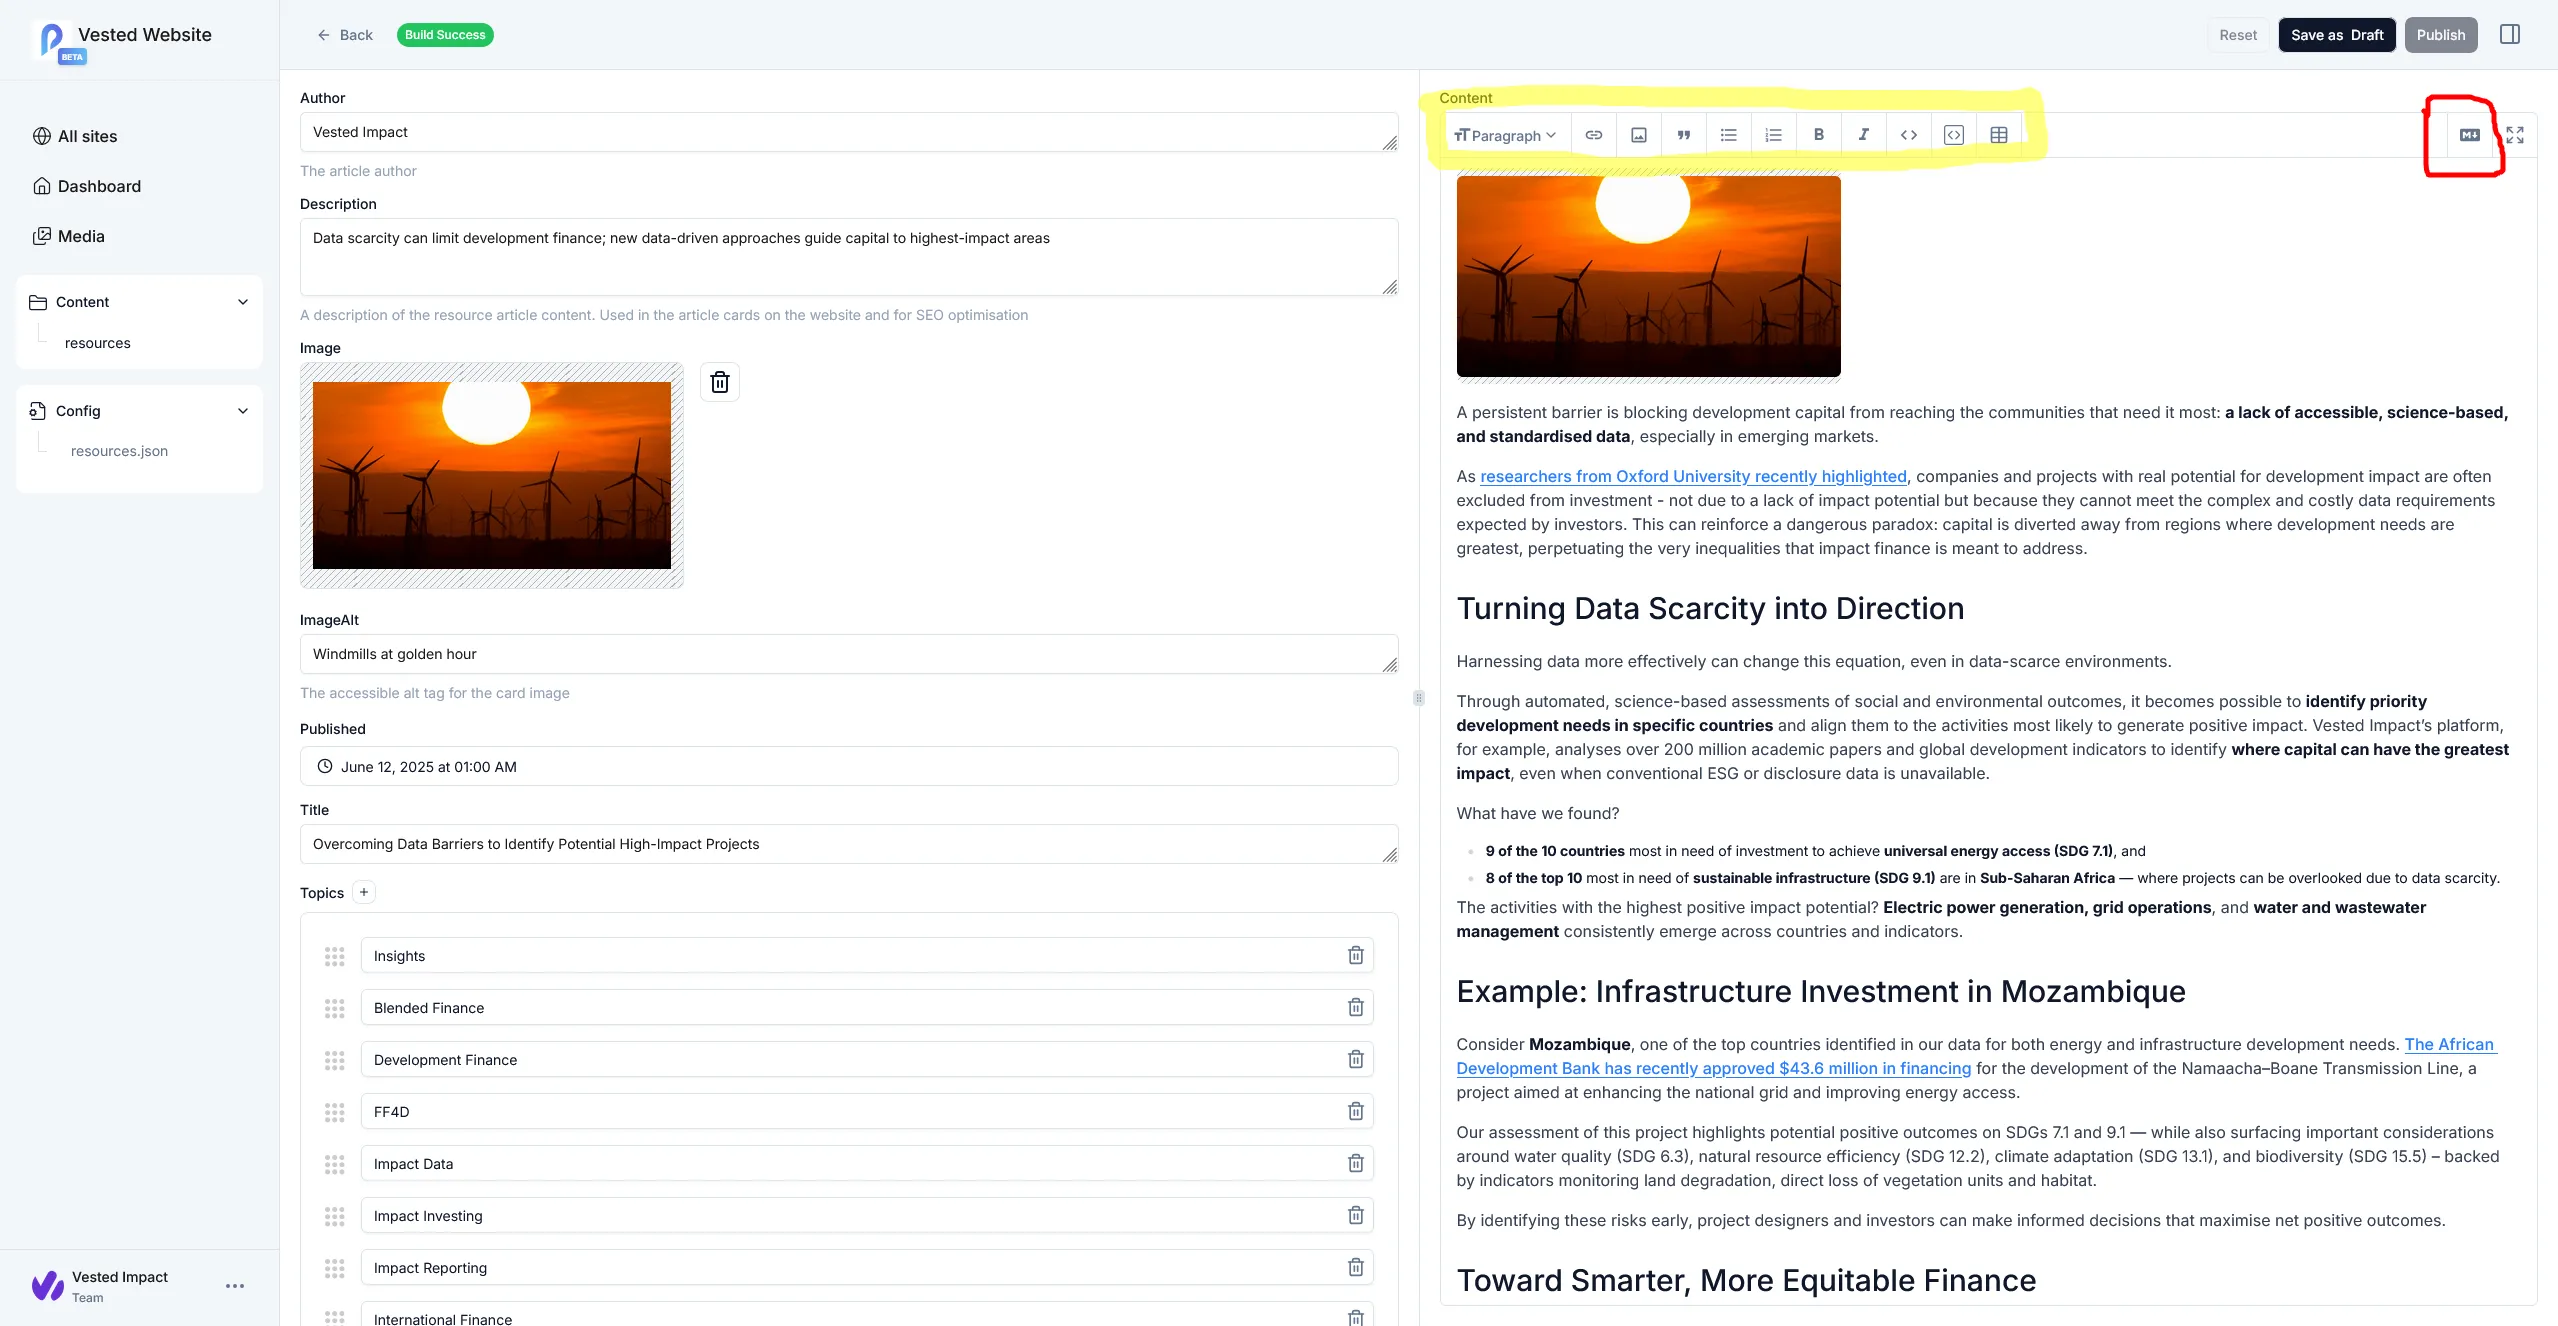
Editing Content
The first step of editing or creating article content is to upload the required images (if any). They can be uploaded in the media sidemenu in Sitepins. Each image should be a png file with a unique name (recommended all lowercase with underscores between words).
Once all required media is uploaded you can proceed to edit article content. In the editor you can see the default sitepins editing tools (highlighted yellow) and a tool that allows you to edit raw markdown if required (highlighted red). This guide contains examples of all tested content elements and custom elements available for use.
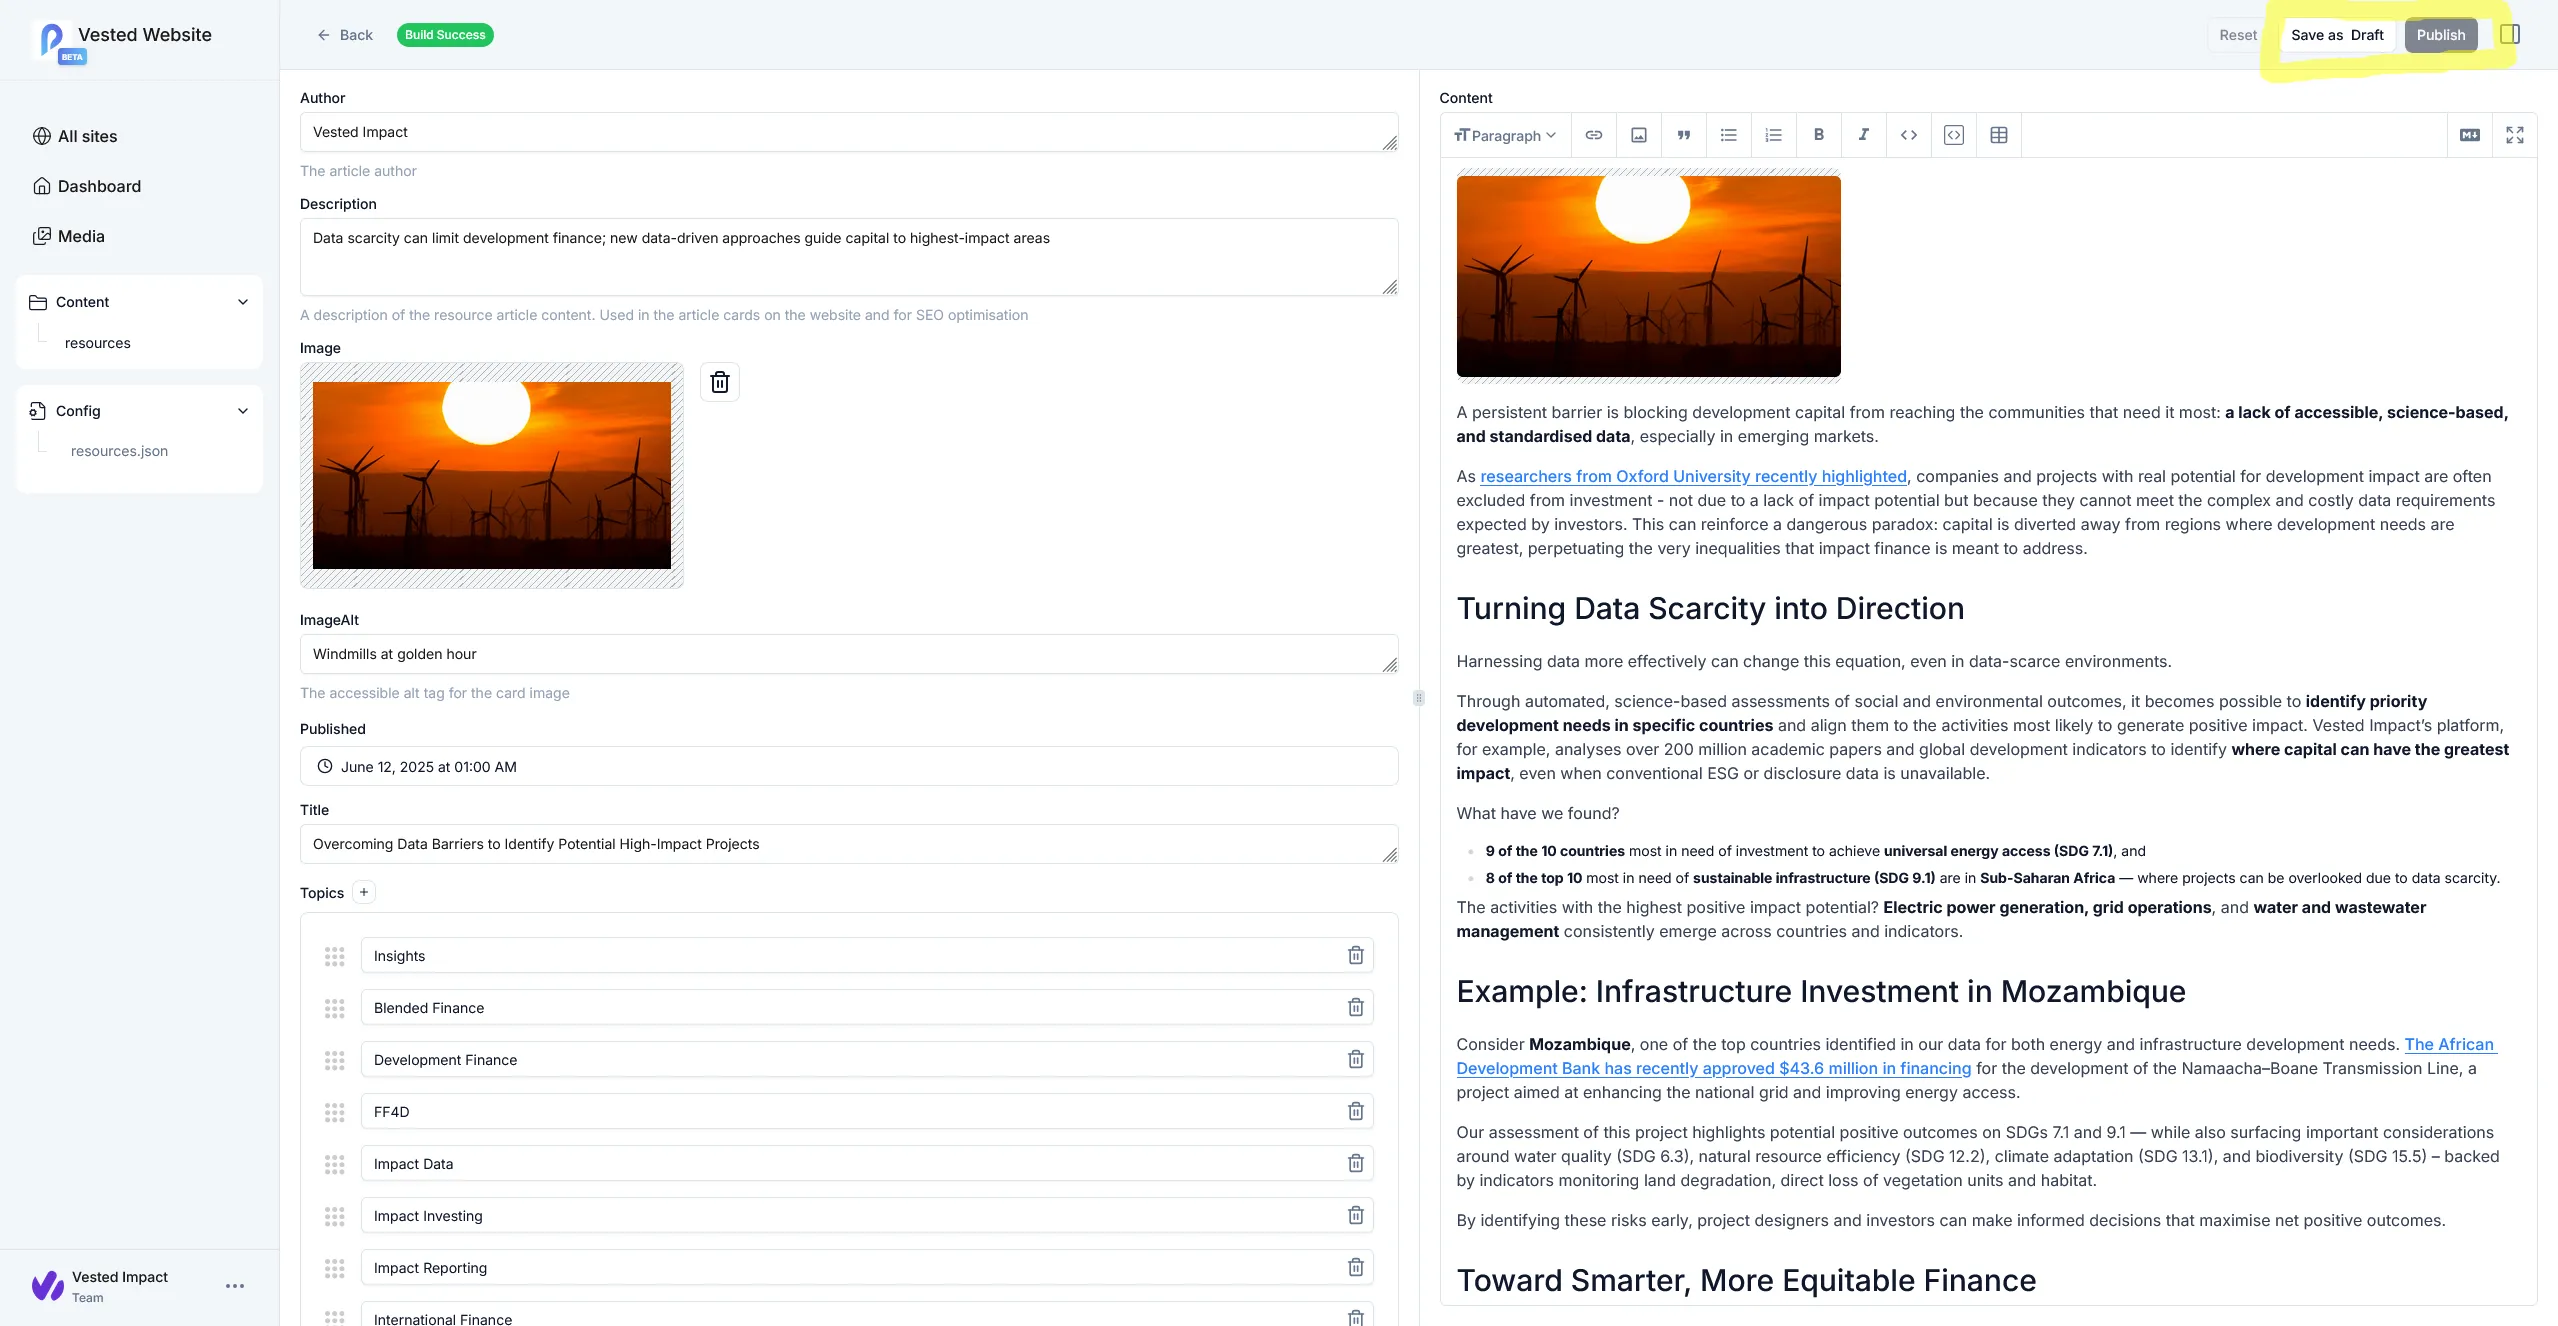
Publishing An Article
When you have finished editing or creating an article in Sitepins you can publish the article to the website. You can selected either to publish the article as a draft (available on the website but not in the resources page) or as full release. The buttons to publish an article are at the top of the Sitepins editor.
Once you have clicked publish (you may be asked for a commit message and description, if so detail what updates have been made) the website will be built and deployed by Github. This should take less than 3 minutes. If you have access to the website Github you can check the status of the deployment by going to the Sitepins dashboard and opening the website Github.
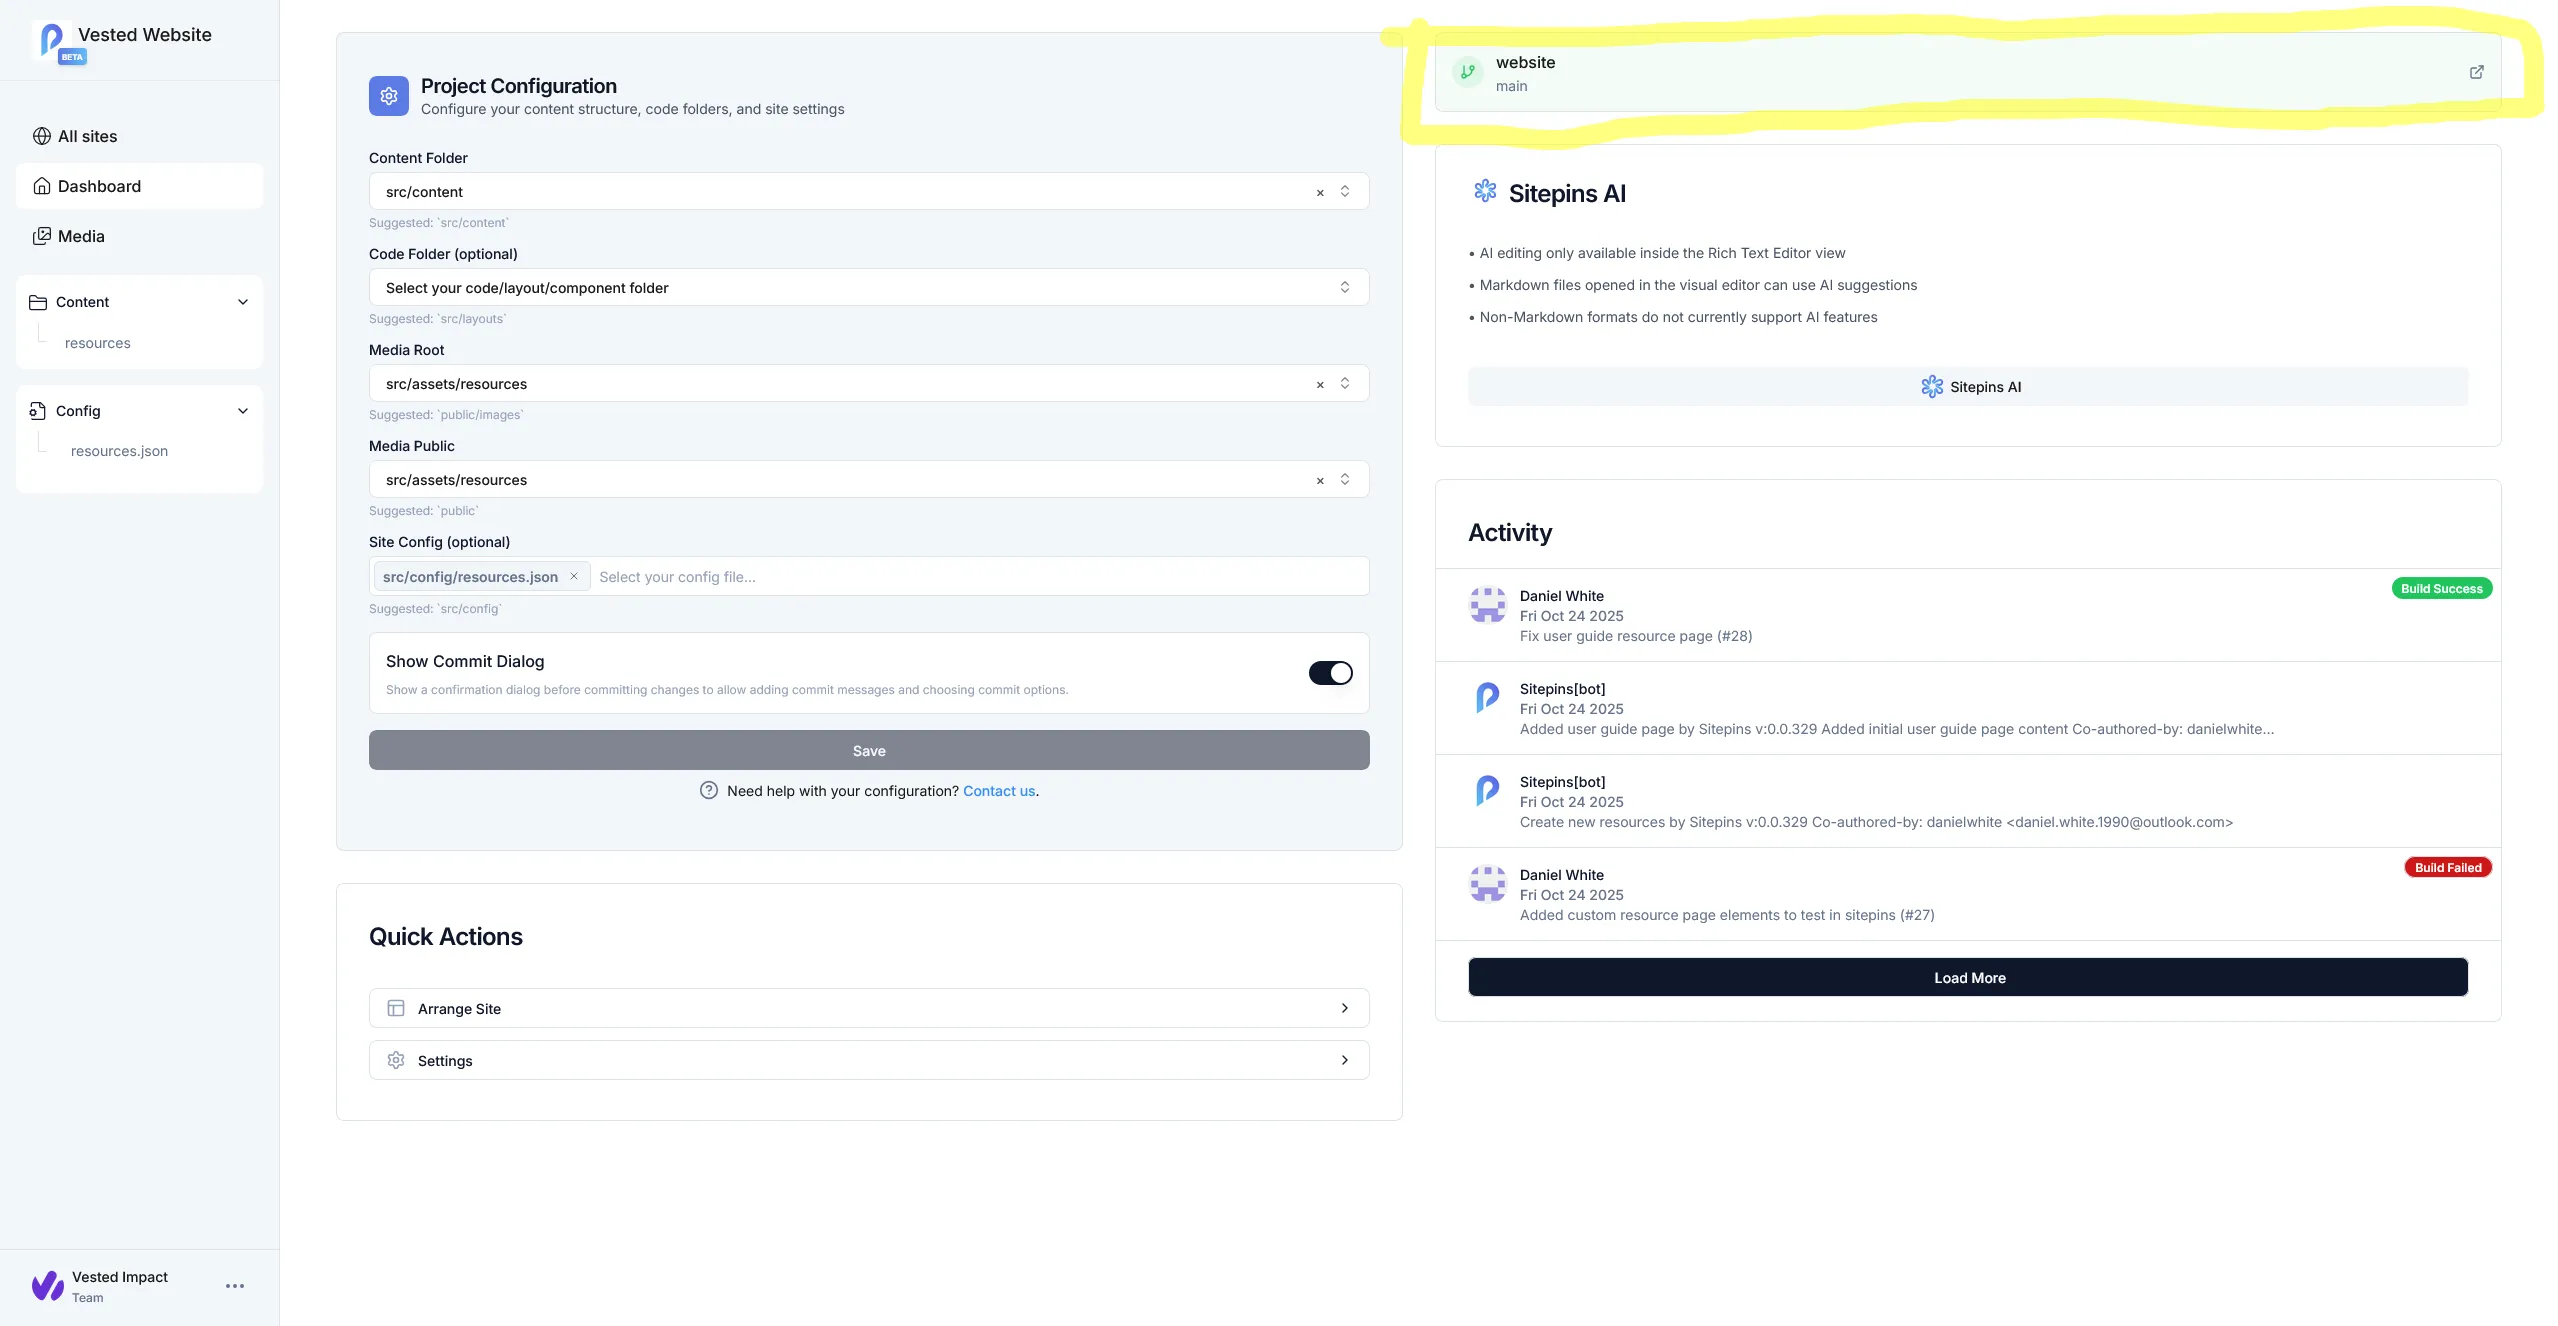
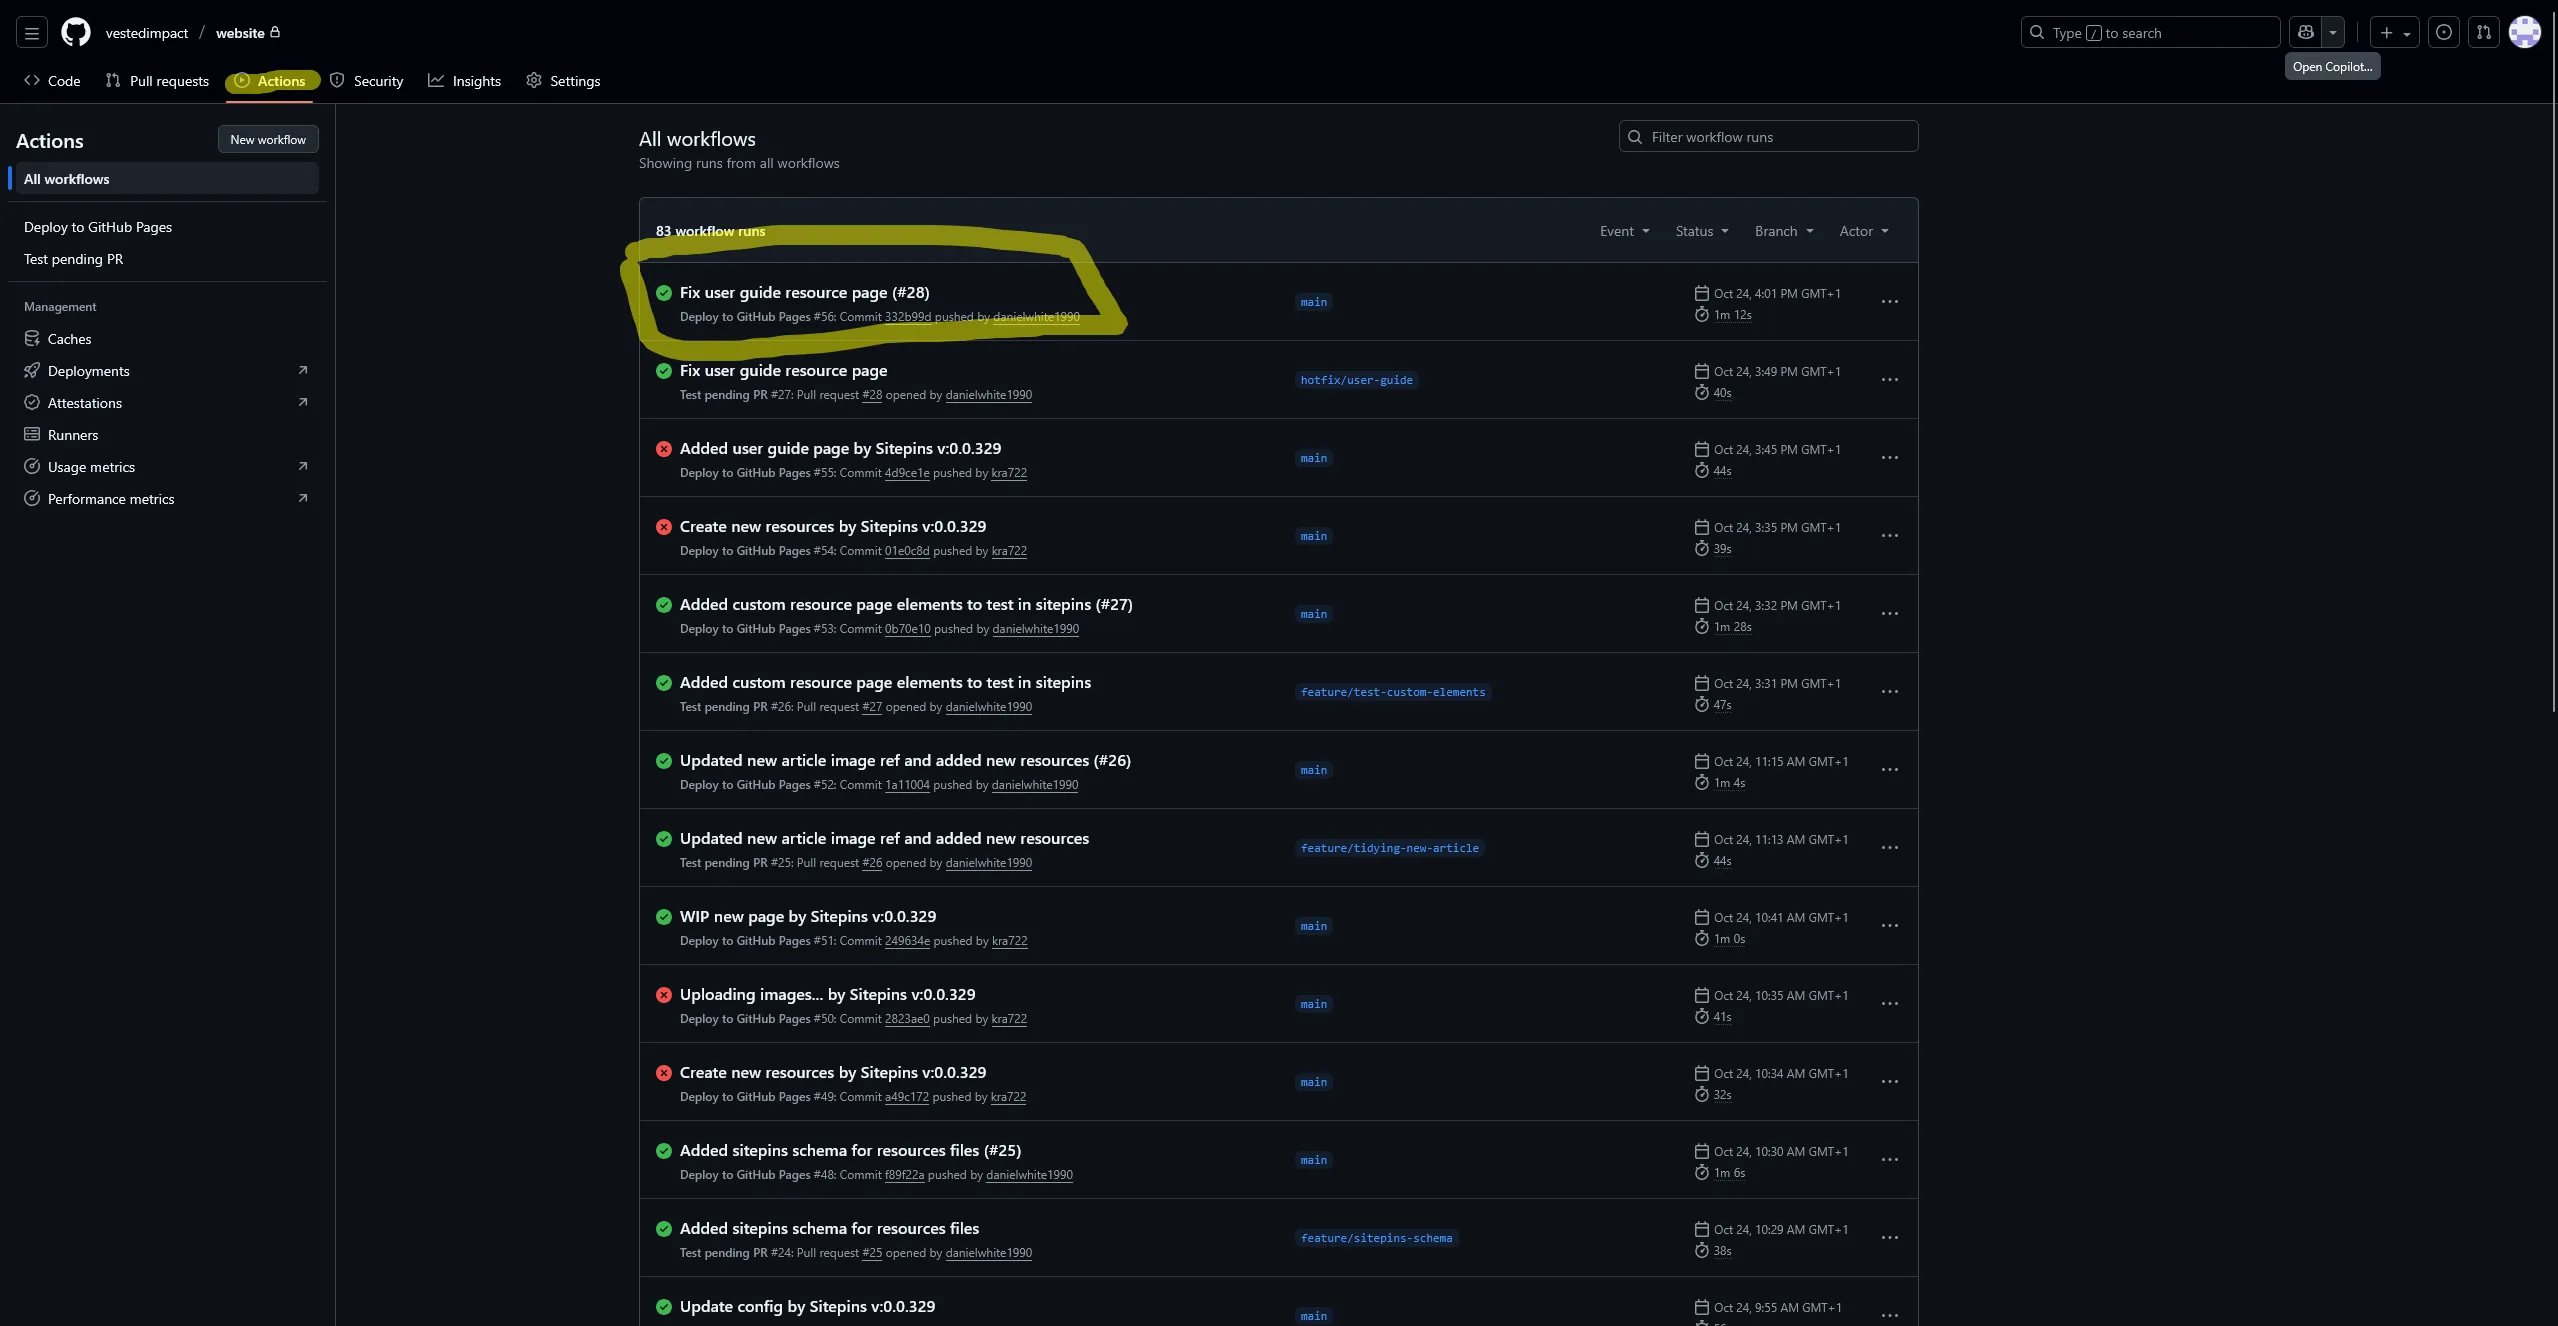
Once in the Github repository you can click actions where you will see a log of each deployment. The one you just created should be at the top, if it fails or takes a long time then let Dan know.
Heading Text Styles
The following heading styles can be added manually to the markdown or selected in the Sitepins editor
Heading 2
Heading 3
Heading 4
Heading 5
Heading 6
NOTE: Heading 1 is available but should be retained
for only the title
(automatically inserted at the top of the page)

## Heading 2

### Heading 3

#### Heading 4

##### Heading 5

###### Heading 6
Body Text Styles
The following body text styles can be added manually to the markdown or selected in the Sitepins editor
Standard body text
Bold body text
Italic body text
Quoted text
Standard body text

**Bold body text**

*Italic body text*

> Quoted text
List Styles
The following list styles can be added manually to the markdown or selected in the Sitepins editor. Items within lists can use additional text styling such as bold, italic etc
- Bullet list #1
- Bullet list #2
- Numbered list #1
- Numbered list #2
* Bullet list #1
* Bullet **list** #2

1. Numbered list #1
2. Numbered *list* #2
Tables
Tables can be added manually to the markdown or created in the Sitepins editor. Items within table cells can use additional text styling such as bold, italic etc
| Header | Header |
|---|---|
| Content | Content |
| Content | Content |
| Content | Content |
| Header  | Header  |
| ------- | ------- |
| Content | Content |
| **Content** | *Content* |
| Content | Content |
External Links
Links to external (or internal) web resources can be added through the Sitepins editor or directly in the markdown. Text styles can be added to links too
[Open Google](https://www.google.co.uk)

[***Open Google***](https://www.google.co.uk)
Simple Images
The quickest and easiest way to add images is using the image element in the Sitepins editor. It will add a link to the markdown that renders an image horizontally centered with a maximum width of 720px. NOTE: Ensure you edit the markdown link to properly reference the desired image and add alt text

Important: Ensure you add the prefix `../../assets/resources/`
in front of the image path when adding an image in Sitepins.
Also add accessible alt text in the square brackets
Custom Elements
The following section details custom additions to the markdown used for articles. These must be added in the raw markdown mode in Sitepins

Add an image with a defined width. When using this format
you just need to add the file name of the image, the alt
text and the width in pixels

<CustomImage alt="Windmills at golden hour" src="golden_windmills.png" width={200} />

You can use the Purple utility to make specific sections
of text purple. You can also use other text styling but
purple should be the innermost

<Purple>Purple text</Purple>
**<Purple>Purple bold text</Purple>**

We can also embed youtube videos, for these we just
need the video ID and a title to show in the preview

<YouTube id="hLljd8pfiFg" title="Example YouTube" />

Finally, we can add a horizontal divider (as seen
throughout this guide)

<Divider />
Topics:
User Guides
Get the risk intelligence you need
Complete the form and tell us a bit about your needs.
One of our team will be in
contact to see how we can help.